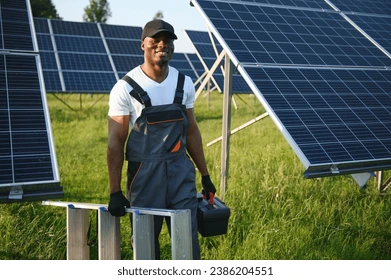
Solar Installation Checklist: Everything Installers Must Verify
A Complete Professional Guide From My Field Experience
Over the years, I’ve learned that the difference between a reliable solar installation and a problematic one is not the brand of equipment — it’s the installer’s verification process.
I have seen expensive systems fail simply because small checks were ignored. Loose terminals. Wrong battery settings. No surge protection. Poor earthing.
That is why I never commission a system without running through my full solar installation checklist. In this guide, I’ll walk you through everything I personally verify before handing over a project.
1. Pre-Installation Site Assessment Checklist
Before installation begins, I confirm:
Structural Assessment
- Roof integrity (no cracks, rust, or weak beams)
- Load-bearing capacity
- Roof type (concrete, zinc, tile, etc.)
- Wind exposure level
- Ground soil condition (for ground-mount systems)
Shading Analysis
- Trees
- Adjacent buildings
- Poles and towers
- Future construction risks
Even small shading can reduce performance significantly.
Electrical Assessment
- Load analysis verified
- Distribution board condition
- Existing earthing status
- Neutral and earth separation confirmed
Skipping this stage leads to system mismatch problems later.
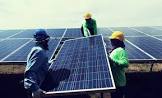
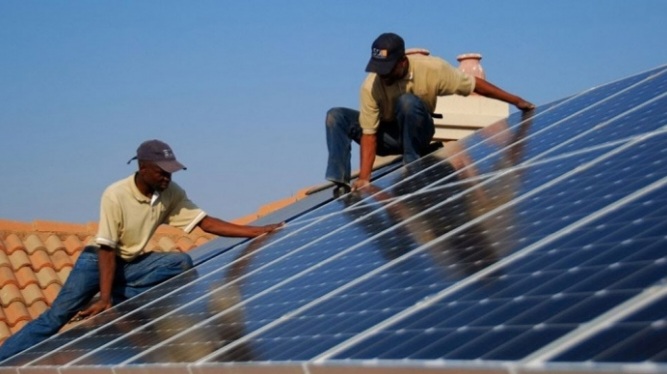
2. Solar Panel Installation Verification
After mounting panels, I verify:
- Correct tilt angle
- Proper orientation (south-facing in the northern hemisphere)
- Tight mid and end clamps
- No cracked glass or damaged frames
- Equal spacing between modules
- No shading during peak sunlight hours
I also ensure:
- Mounting bolts are torqued properly
- Panels are grounded and bonded
Mechanical security is just as important as electrical connection.
3. Mounting Structure Inspection
A weak structure can destroy an entire investment.
I confirm:
- Galvanized steel or corrosion-resistant aluminum
- Proper anchoring (chemical anchors or expansion bolts)
- Waterproof sealing of roof penetrations
- Cross bracing where required
- No exposed sharp edges damaging cables
Wind load resistance is critical in many regions.
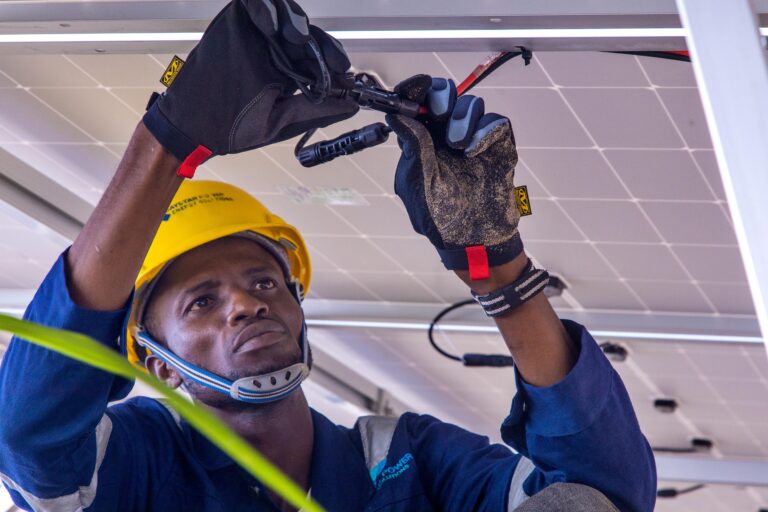
4. DC Wiring Checklist
DC faults are one of the most dangerous risks in solar installations.
I verify:
- Correct polarity
- Proper MC4 crimping
- No exposed copper
- UV-rated solar cables used
- Proper cable management
- Correct string configuration
- Voltage within inverter MPPT limits
I also check:
- DC isolators installed
- Combiner box correctly wired
- Cable sizing adequate to limit voltage drop
5. Inverter Installation Verification
For the inverter, I confirm:
- Installed in a ventilated space
- Away from direct sunlight
- Mounted securely and level
- AC input/output clearly labeled
- Proper neutral and earth connections
- Firmware updated if necessary
I also double-check system settings:
- Battery type selected correctly
- Charging voltage parameters configured
- Grid settings (for hybrid systems)
- Output priority mode configured
Configuration errors reduce system lifespan.
6. Battery Bank Inspection
Battery mistakes are expensive.
I verify:
- Correct series/parallel wiring
- Tight battery terminals
- Proper cable sizing
- Equal cable lengths in parallel banks
- Battery fuse or breaker installed
- No mixing of old and new batteries
For lithium batteries:
- BMS communication active
- Charge and discharge limits correct
7. Earthing and Lightning Protection Verification
This is non-negotiable.
I confirm:
- All metallic parts bonded
- Proper earth rod depth
- Earth resistance tested
- DC and AC surge protection devices installed
- Lightning arrestor installed where necessary
Poor grounding can destroy inverters instantly during storms.
8. AC Distribution and Protection Check
On the AC side, I verify:
- Correct MCB ratings
- RCCB/ELCB installed
- Proper cable termination
- Clean wiring inside DB
- Proper labeling of circuits
Electrical fire risks are usually from loose AC connections.
9. System Testing and Commissioning
Before handover, I test:
- Open-circuit voltage (Voc)
- Short-circuit current (Isc)
- Battery voltage
- Charging current
- Inverter output voltage
- System behavior under load
I allow the system to run and observe performance before final approval.
10. Monitoring and Client Setup
If the system includes monitoring:
- WiFi configured
- App installed
- Customer account created
- Client trained on usage
Education prevents unnecessary service calls.
11. Documentation and Handover
Professional installers must provide:
- System design summary
- Wiring diagram
- Equipment manuals
- Warranty details
- Maintenance guide
I also explain:
- Safe shutdown procedure
- Basic troubleshooting
- Emergency contact process
12. Final Safety Walkthrough
Before I leave site, I confirm:
- No exposed live wires
- All enclosures closed
- Warning labels placed
- Emergency isolation accessible
- Tools cleared from site
Safety is always the final step.
Common Failures This Checklist Prevents
- Undersized systems
- Loose terminals
- Incorrect battery charging
- Overheating cables
- Lightning damage
- Roof leakage
- Premature battery failure
Most problems are avoidable with proper verification.
Final Thoughts
In my professional experience, a solar installation checklist protects:
- The client’s investment
- The installer’s reputation
- The equipment warranty
- Long-term system reliability
Solar engineering is not just installation — it is verification.
When I finish a project, I don’t just ask, “Is it working?”
I ask, “Has everything been verified?”
Because in professional solar installation, details make the difference.