Professional Solar Mounting Structures: Design and Installation Guide (From My Field Experience)
When people talk about solar installations, most of the attention goes to panels, batteries, and inverters. But in my years working in the solar industry, I have learned that the mounting structure is just as important as the panel itself.
A poorly designed mounting system can reduce efficiency, damage panels, compromise safety, and even void warranties. In this guide, I’ll walk you through how I design and install professional solar mounting structures for durability, safety, and maximum performance — especially in harsh African weather conditions.
What Is a Solar Mounting Structure?
A solar mounting structure is the mechanical framework that supports solar panels and secures them to a roof or the ground. It ensures:
- Proper tilt angle
- Correct orientation
- Structural stability
- Wind resistance
- Long-term durability
In simple terms, it holds your investment in place for 25+ years.
Types of Professional Solar Mounting Structures
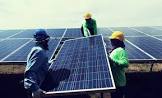
1. Roof-Mounted Solar Structures
I use roof-mounted systems for residential and commercial buildings where ground space is limited.
Common types include:
- Flush mounts (parallel to roof)
- Tilted mounts (for flat roofs)
- Ballasted systems (no roof penetration)
- Rail-based aluminum systems
When designing roof mounts, I always assess:
- Roof type (concrete, zinc, tile)
- Roof load-bearing capacity
- Wind exposure
- Waterproofing protection
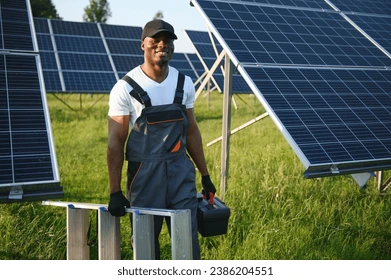
2. Ground-Mounted Solar Structures
Ground-mounted systems give more flexibility in tilt and orientation. I prefer them for:
- Large residential compounds
- Commercial sites
- Solar farms
- Agricultural installations
These structures require:
- Concrete foundations
- Galvanized steel frames
- Proper anchoring depth
- Soil stability analysis
Materials I Recommend for Professional Mounting Structures
Choosing the right material determines lifespan.
1. Hot-Dip Galvanized Steel
This is my top choice for ground mounts. It offers:
- Excellent corrosion resistance
- High structural strength
- Long service life (20–30 years)
2. Anodized Aluminum
Perfect for rooftops because:
- It is lightweight
- Corrosion-resistant
- Easy to install
3. Stainless Steel Fasteners
I never compromise on bolts and nuts. Rusted fasteners lead to structural failure over time.
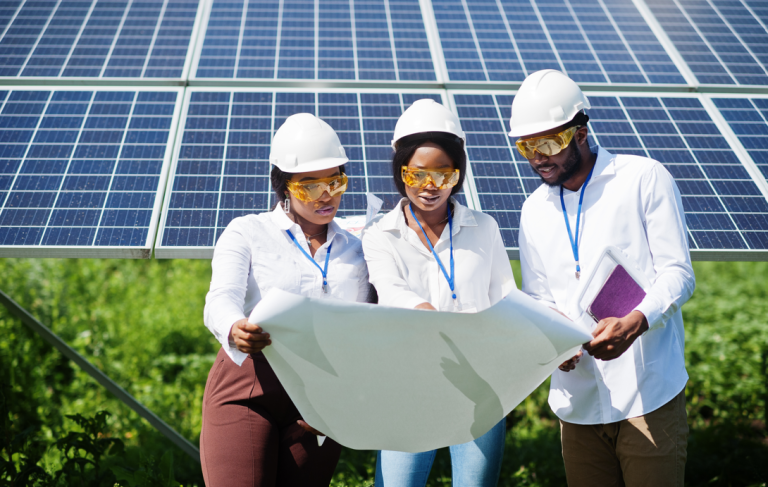
Step-by-Step: How I Design a Solar Mounting Structure
Step 1: Load Calculation
Before installation, I calculate:
- Dead load (weight of panels + structure)
- Wind load (especially important in high-wind regions)
- Live load (maintenance access weight)
If you ignore wind load, you are taking a huge risk.
Step 2: Determine Tilt Angle
The tilt angle affects energy production.
In Nigeria, I typically use:
- 10–15° for flat roofs
- 15–30° for optimized output depending on location
The goal is to maximize annual solar yield while maintaining structural stability.
Step 3: Orientation Planning
I always face panels:
- South in the northern hemisphere
- North in the southern hemisphere
Correct azimuth ensures peak sun exposure.
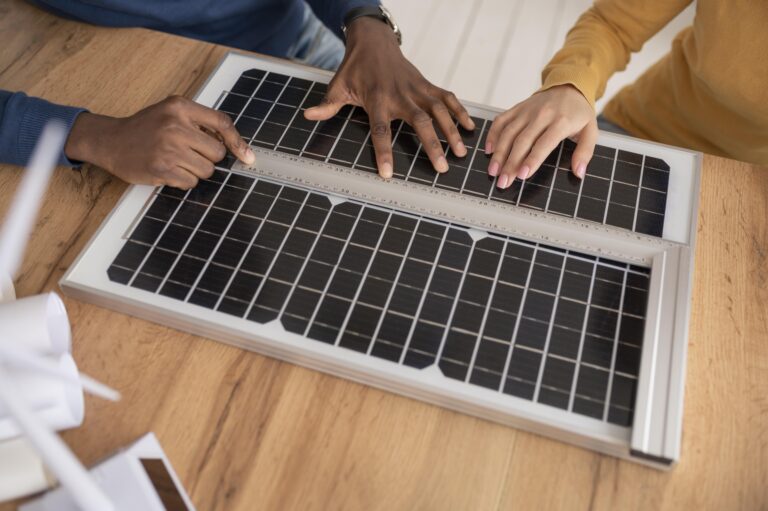
Step 4: Structural Spacing
Proper rail spacing prevents panel flexing. I follow manufacturer guidelines strictly to avoid micro-cracks in modules.
Installation Process: My Professional Approach
1. Site Marking and Measurement
Precision is everything. I double-check alignment before drilling.
2. Anchoring and Waterproofing
For roof systems:
- I use expansion bolts or chemical anchors.
- I seal all penetration points properly to prevent leakage.
3. Frame Assembly
I assemble rails and supports, ensuring:
- Perfect leveling
- Equal spacing
- Tight torque on all bolts
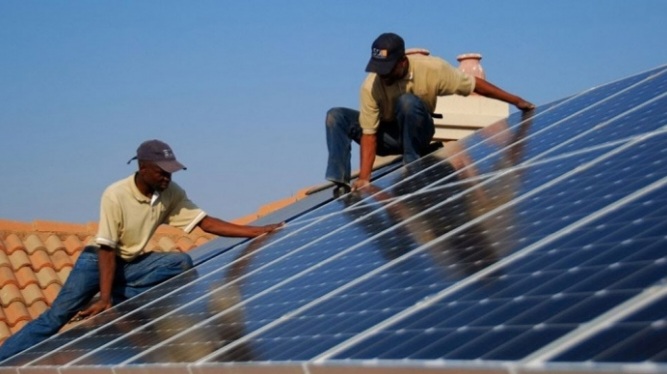
4. Panel Mounting
I install panels using:
- Mid clamps
- End clamps
- Proper torque specifications
Overtightening can crack frames. Undertightening can cause movement.
Common Mistakes I Avoid in Solar Mounting
- Ignoring wind speed calculations
- Using low-quality fasteners
- Poor waterproof sealing
- Incorrect tilt angle
- Overloading weak roofs
- Poor grounding of metallic structures
Every one of these mistakes can destroy a system long-term.
Designing for Harsh Weather Conditions
In regions with:
- Heavy rainfall
- Coastal corrosion
- High wind speeds
- Dust storms
I reinforce structures with:
- Thicker steel sections
- Cross bracing
- Anti-rust coating
- Elevated clearance for airflow
Thermal expansion is also considered. Metal expands under heat. I always allow slight structural flexibility.
Safety Standards I Follow
Although local enforcement may be relaxed in some regions, I design with international best practices in mind, such as:
- Structural safety compliance
- Electrical bonding and grounding
- Manufacturer installation standards
Professional mounting is not guesswork — it’s engineering.
Why Professional Solar Mounting Structures Matter
A strong structure ensures:
- 25+ years system lifespan
- Maximum energy yield
- Lower maintenance costs
- Structural safety
- Warranty protection
From experience, I can confidently say: many solar failures are not electrical — they are structural.
Final Thoughts
Professional solar mounting structures are the backbone of every reliable solar installation. If you invest in quality panels but compromise on mounting, you are building on weakness.
In my projects, I treat the mounting structure as a long-term foundation. I calculate properly, use quality materials, follow engineering principles, and never rush installation.
If you are serious about building durable and high-performing solar systems, start by getting the structure right.
Because in solar engineering, strength begins from the base.