Earthing and Lightning Protection in Solar Installations
A Practical Guide From My Field Experience
In my years designing and installing solar systems, I have learned one hard truth:
Most system failures are not caused by panels or inverters — they are caused by poor earthing and inadequate lightning protection.
In countries like Nigeria where we experience intense thunderstorms, high humidity, and unstable grid conditions, proper grounding is not optional. It is a critical safety requirement.
In this guide, I’ll walk you through how I professionally handle earthing and lightning protection in solar installations to ensure safety, equipment longevity, and compliance with best practices.
What Is Earthing in Solar Installations?
Earthing (grounding) is the process of connecting exposed metallic parts of a solar system to the earth to:
- Prevent electric shock
- Protect equipment from surge damage
- Stabilize system voltage
- Provide a path for fault currents
If a fault occurs and your system is not properly earthed, the metal parts can become live. That is dangerous.
Types of Earthing I Use in Solar Installations
1. Equipment Earthing
This involves grounding:
- Solar panel frames
- Mounting structures
- Inverter chassis
- Battery racks
- Combiner boxes
I ensure all metallic components are bonded together and connected to an earth electrode.
2. System (Functional) Earthing
This refers to grounding specific points in the electrical system, such as:
- Neutral grounding (in AC systems)
- DC negative grounding (if required by inverter design)
Some inverter manufacturers specify grounding configurations. I always follow their technical manual strictly.
3. Lightning Protection Earthing
This is separate from equipment grounding.
It provides a dedicated low-resistance path for lightning current to flow directly into the ground without passing through sensitive electronics.
Why Lightning Protection Is Critical in Solar Systems
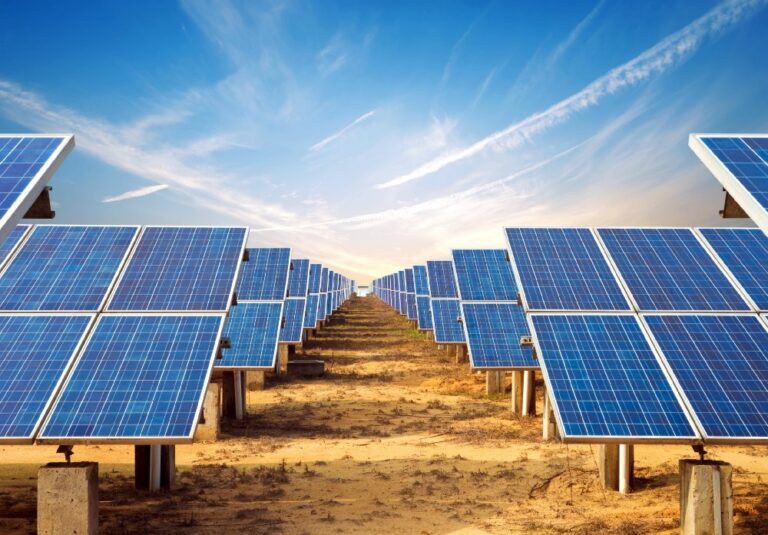
Solar panels are typically installed:
- On rooftops
- In open fields
- On elevated structures
That makes them vulnerable during thunderstorms.
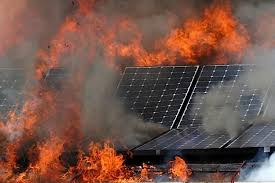
Lightning damage can:
- Destroy inverters instantly
- Burn solar charge controllers
- Damage batteries
- Melt DC cables
- Void warranties
I have seen entire systems wiped out in seconds because lightning protection was ignored.
Components of a Professional Lightning Protection System
1. Lightning Arrestor (Air Terminal)
This is installed at the highest point of the building or solar structure.
Its job is simple:
Attract lightning and safely redirect it to earth.
I ensure the arrestor is positioned higher than the solar panels for effective protection.
2. Down Conductor
A thick copper or aluminum conductor that:
- Connects the lightning rod
- Runs directly to the ground electrode
It must be:
- Straight (no sharp bends)
- Short as possible
- Properly clipped and protected
Sharp bends increase impedance and reduce effectiveness.
3. Earth Electrode (Ground Rod)
This is where everything terminates.
I typically use:
- Copper-bonded earth rods
- Minimum 1.2m to 3m depth
- Multiple rods for large systems
In high-resistance soil, I improve conductivity using:
- Charcoal
- Salt
- Bentonite
My target earth resistance value is usually less than 5 ohms, and for sensitive systems, below 2 ohms.
Surge Protection Devices (SPDs)
Lightning doesn’t always strike directly. Sometimes it induces voltage spikes in cables.
That’s why I always install:
- DC surge protection devices (between panels and inverter)
- AC surge protection devices (at distribution board)
SPDs protect:
- Inverters
- Charge controllers
- Sensitive electronics
Without SPDs, a nearby lightning strike can still damage your system.
Step-by-Step: How I Implement Proper Earthing
Step 1: Soil Resistivity Assessment
Before installation, I assess soil type:
- Sandy soil (higher resistance)
- Clay soil (lower resistance)
- Rocky soil (requires special treatment)
Step 2: Install Earth Rods
I drive rods vertically into the ground.
For large installations:
- I space multiple rods apart
- Connect them using copper tape
Step 3: Bond All Metallic Parts
Every metal frame and structure must be electrically connected.
No floating metal parts.
Step 4: Install Surge Protection
I install SPDs at:
- DC combiner box
- Inverter AC output
- Main distribution board
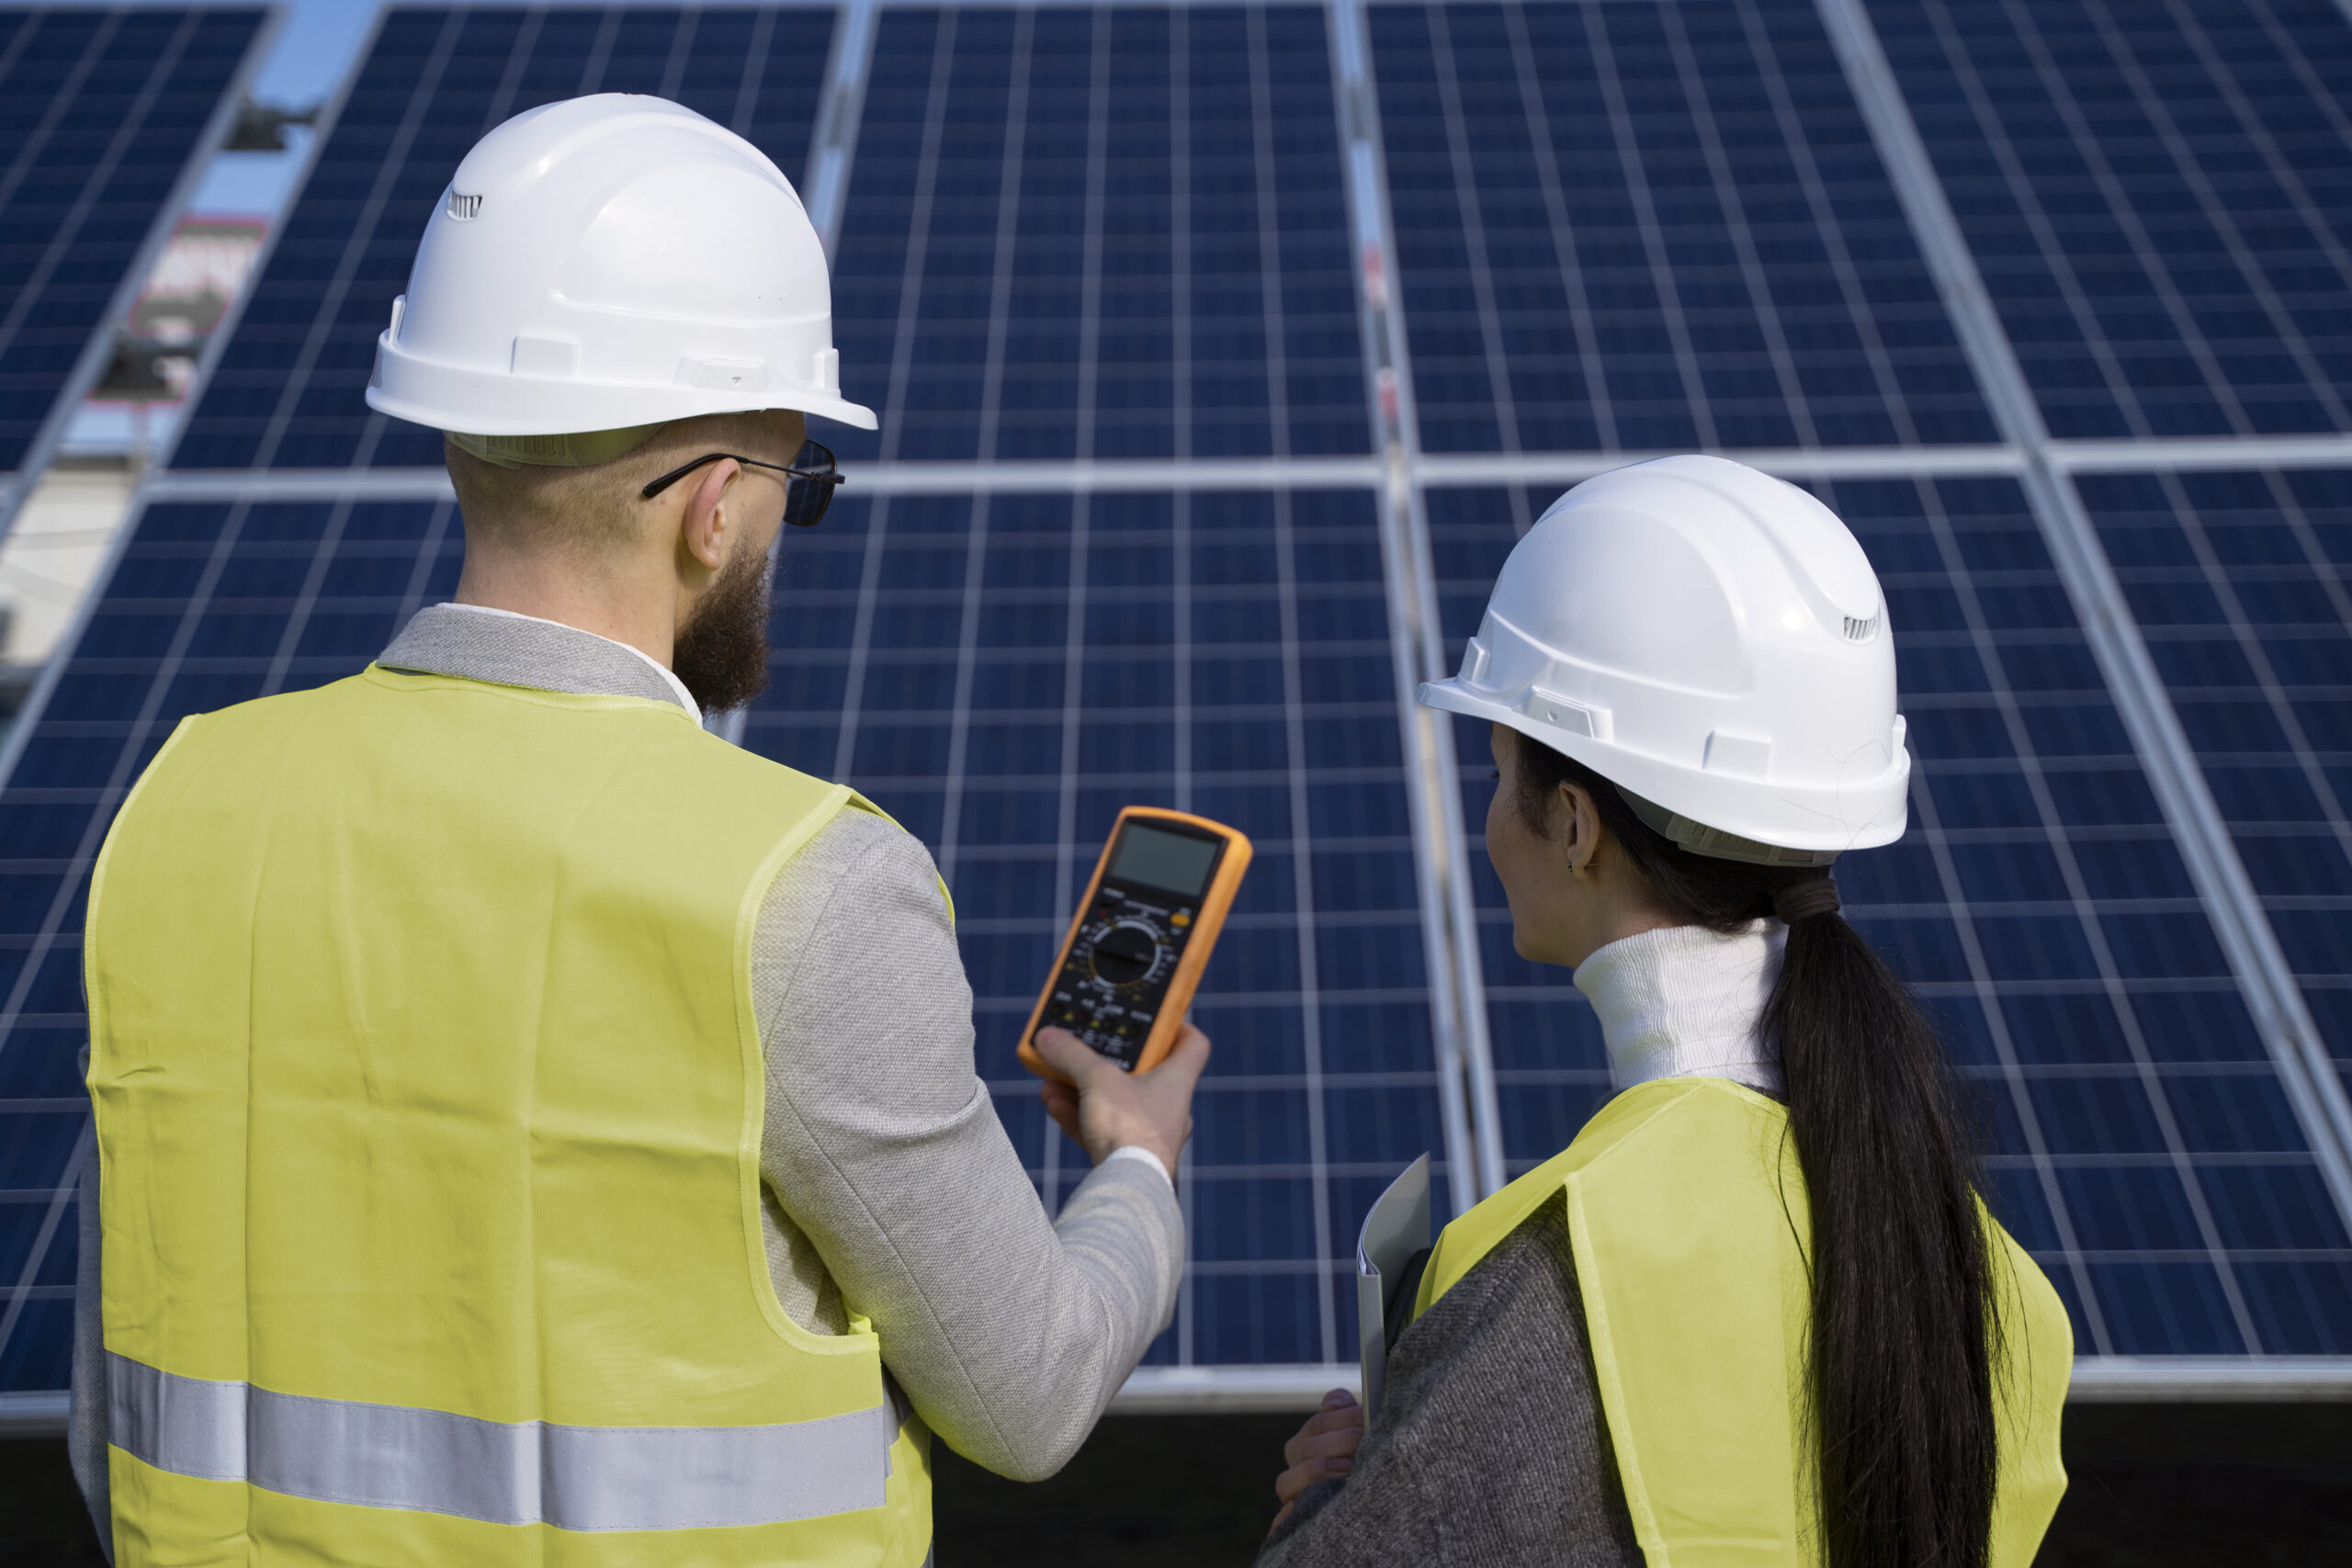
Step 5: Test Earth Resistance
Using an earth resistance tester, I confirm:
- Acceptable ohmic value
- Continuity of bonding
Testing is not optional. It is mandatory.
Common Mistakes I Avoid
- Connecting lightning protection and equipment earth without proper design
- Using undersized grounding cables
- Skipping surge protectors
- Installing only one shallow earth rod
- Ignoring periodic testing
- Allowing corroded connections
These mistakes reduce system lifespan drastically.
Separation Between Solar Earthing and Building Earthing
In some projects, I:
- Interconnect them properly
- Or maintain separate systems depending on design
But random mixing without proper calculation can cause circulating currents and equipment damage.
Proper design matters.
Maintenance of Earthing and Lightning Systems
Many installers forget this part.
I recommend:
- Annual earth resistance testing
- Checking corrosion on connections
- Inspecting SPDs after major storms
- Tightening loose terminals
Earthing systems degrade over time, especially in high-moisture environments.
Final Thoughts
In my professional opinion, earthing and lightning protection are not “extra costs.” They are insurance for your investment.
A solar system without proper grounding is incomplete.
When I design a system, I don’t just think about energy production — I think about:
- Safety
- Durability
- Reliability
- Long-term protection
Because one lightning strike can destroy what took months to build.